Knowing how to install traffic spikes can be tricky especially when installation can look different depending on the brand of spikes you're using. Viper, Delta Scientific, Roadshark, they all look a little different, especially between the different models each brand offers. Luckily, we've put together a few installation guides for you, with this guide including some general installation steps for Roadshark's Surface Mount Traffic Spikes. Let's take a look!
General Installation Notes for Roadshark Traffic Spikes
Before getting started, there's some general guidelines that you should go over to ensure that your traffic spikes are not only safe but effective:
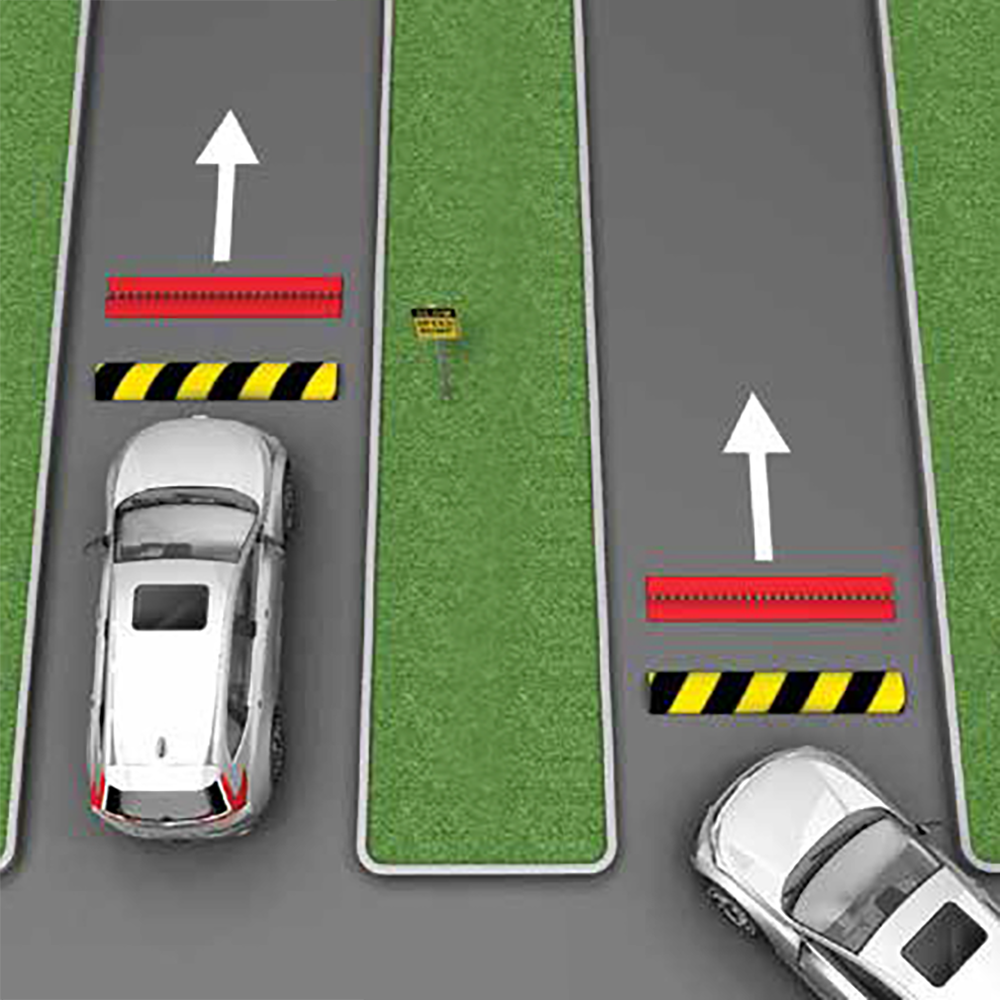
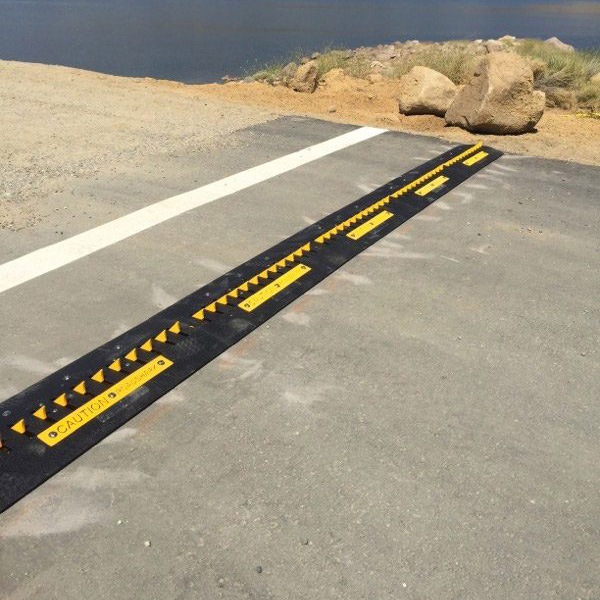
- Spike Orientation: Spikes should always be placed with the points facing away from oncoming vehicles.
- Signage and Visibility: It's important to keep spikes visible and have clear signage to indicate their presence. Traffic spikes are meant for traffic control, not traps.
- Speed Control Recommendations: It's recommended that extremely low speed is used on traffic spikes, around 5 MPH to ensure tires don't spin too fast and hit a spike unnecessarily.
Step One: Site selection & Placing Barriers
- Locate your Roadshark installation hardware & prepare your installation surface by removing any debris
- Place the Roadshark barriers into the exact location they will be permanently installed, placing all barrier modules directly beside each other with no gap
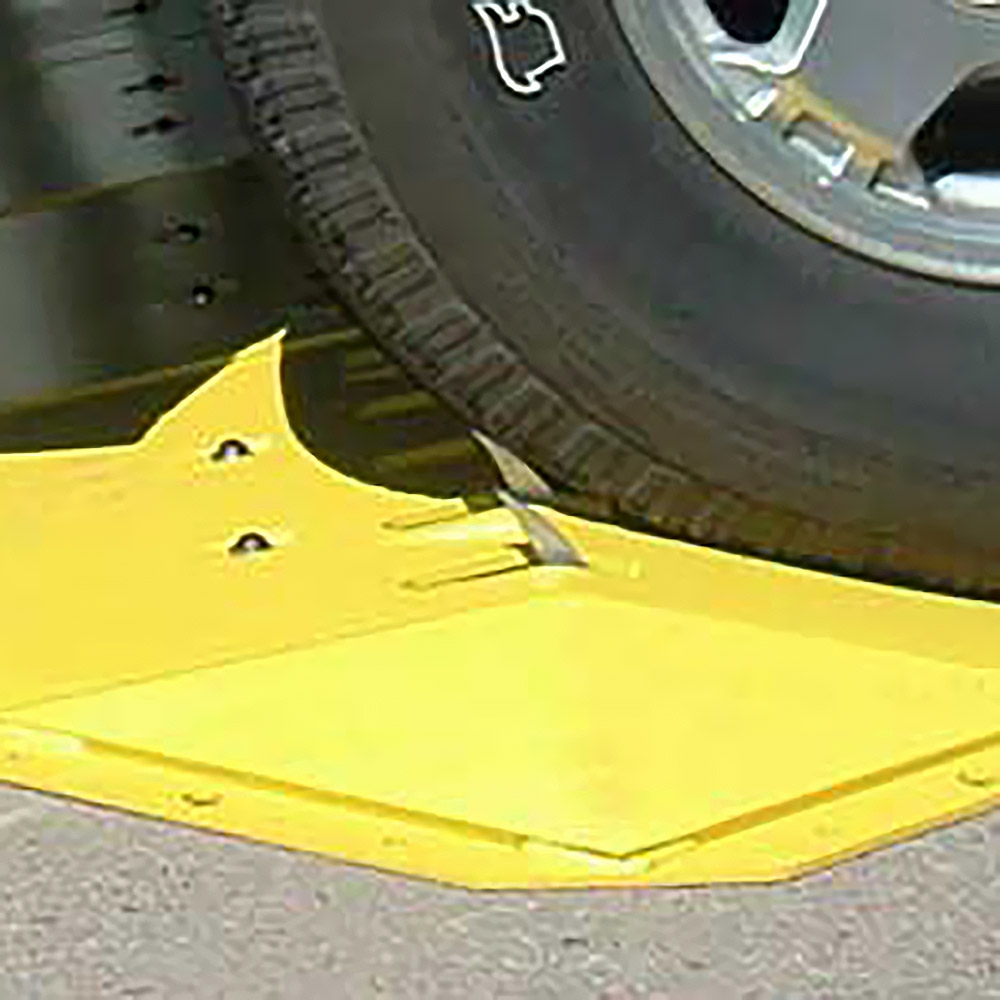
- Make sure the blades are facing the correct direction before installing
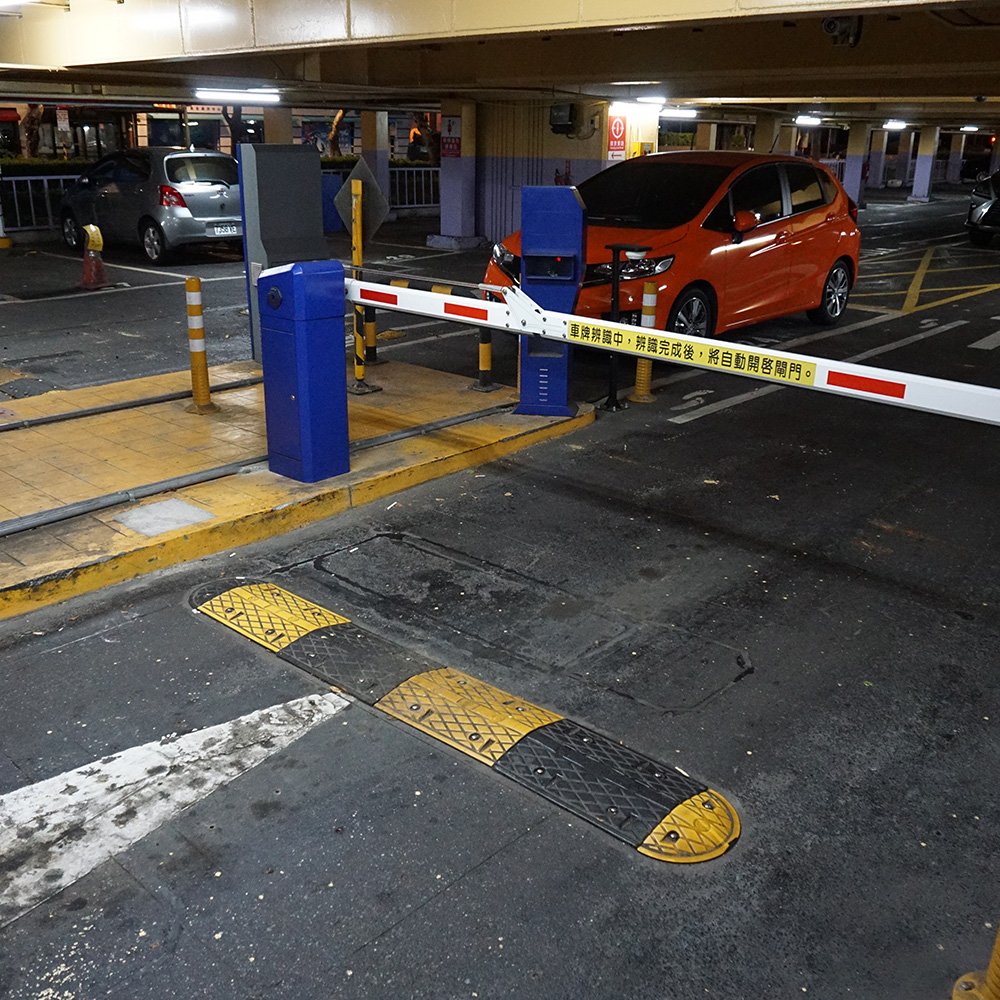
For best usage of your Roadshark Traffic Spikes, place your surface-mounted spike barriers:
- On flat surfaces, made of concrete or asphalt
- Where the max speed of travel is 10mph or less
- Away from public roads, so unintentional damage does not occur
- Away from pedestrian areas, or restrict pedestrians from the area
- 90° to the flow of traffic, so that unintended tire damage does not occur
Step Two: Remove the Lock-down Bolts & Cover Plates
- Remove the center lock-down bolt from each unit with a 3/4” socket. Keep this bolt to lock down the blades later
- Remove the cover plate bolts and name plates using an impact drill with a 3/4" socket
- Remove the cover plate to expose the mounting holes.
Step Three: Drill pilot holes, install anchor bolts
- Using a 3/8” drill bit with a hammer drill (if available), or a standard drill, create pilot holes for the anchor bolts
- Using the mounting holes as a guide, drill to 4.25” depth
- After drilling all pilot holes, clear out any dust/debris that would obstruct installation hardware
- Using an impact drill with a 3/4” socket, install the anchor bolts.
Step Four: Secure cover plates, install accessories
- Once the cover plates are reinstalled, install beveled end caps if applicable
- Place signage and nighttime illumination to inform drivers about potential tire damage.
Printable Instructions Shop All Traffic Spikes
After Installation of your Roadshark Traffic Spikes
Once your surface mount Roadshark Traffic Spike system is installed, the only thing you should ever really need to do is some basic maintenance, primarily cleaning and on occasion tightening the installation bolts to ensure that your spikes don't move or come out of alignment. One of the niceties of Roadshark Traffic Spikes is that because they aren't automated there's no extra electrical work to be done, so maintenance is a sinch!